How to Assemble and Mail Your Invitations with Confidence
We have a lot of practice assembling invitations. Thousands of cards stacked, bows tied, stamps stuck, and envelopes sealed. You can hire us assemble your invitations, but if you’ve opted for DIY assembly, there’s more you can do than cross your fingers to ensure your invitations arrive safely.
Make the Post Office Work for You
USPs handles 429.9 million pieces of mail daily* and a one-ounce letter costs only a matter of cents to be delivered anywhere in the United States. Amazing! The Postal Service is a remarkable resource but it’s not perfect. Here are some ways to make sure you’ve done everything you can to prepare your invitations for their journey to mailboxes.
Know the facts. It’s hard to measure, but most reports say about 3% of mail is not delivered. With millions of letters zipping around the country, a few are bound to get lost. You’ve ordered some extras and you know ahead of time this might happen, so you’ll be ready if you need to send out a couple twice.
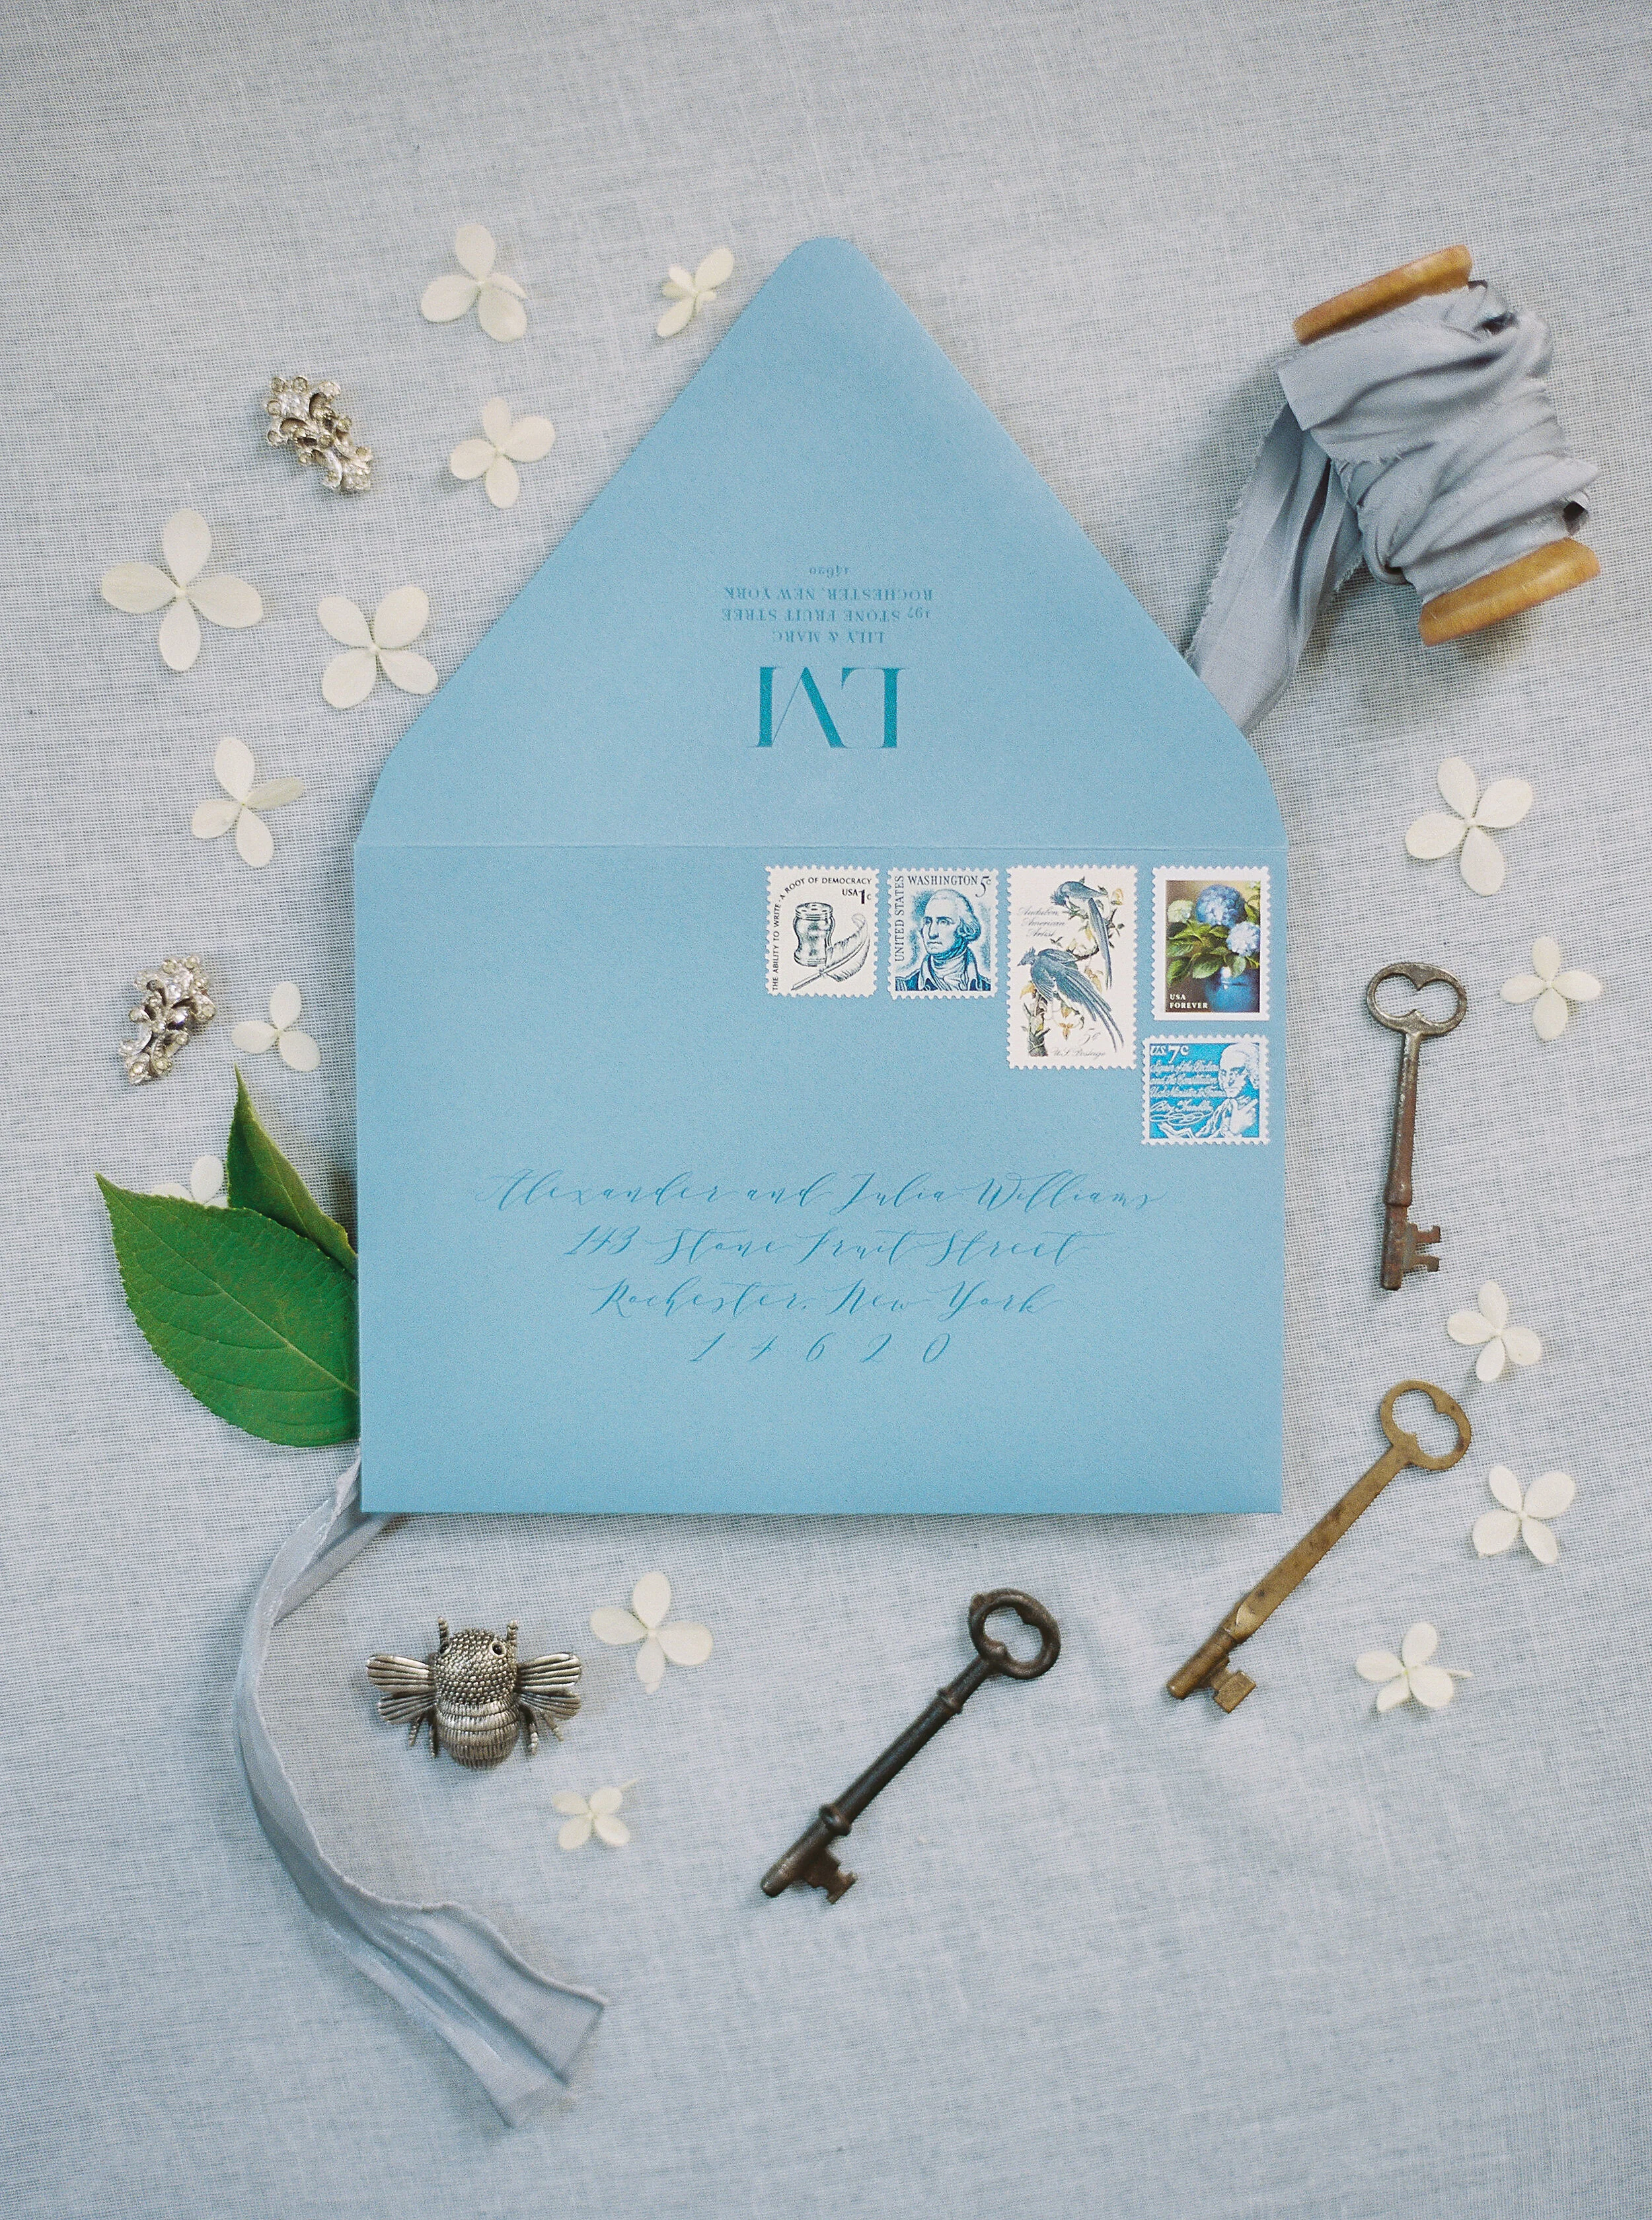
Assemble a set of your invitations with all the pieces that will be included. This will be the sample you bring to the post office. If you have more than one list of guests who will receive different sets of cards, assemble each version to be weighed. Tuck in a few of small pieces of heavy paper to your samples to add weight since when you stick your stamps on, the package will weigh a little more. Make sure to get a separate quote for all international guests’ invitations. One Forever stamp covers up to an ounce for a rectangular, standard-sized envelope. Additional postage is required for extra weight (most invitations weigh more than one once), and for “non-machinable” letters that will need to be sorted partially by hand. Thicker paper, 3D elements like wax seals and bows, and square invitations may all be factors that deem an invitation “non-machinable.”
Take your sample to the post office you plan to mail it from. Ask your most trusted post office worker to weigh it for you and give you a quote for how much postage it will require. I also recommend checking out the current postal rates and do the math yourself in order to double check.
*Tell your postal worker if you plan to ask for hand canceling. Here’s the scoop on hand canceling: You know those squiggly black lines and the date that get machine-printed on an envelope when you mail it? When you ask for hand canceling, your postal worker will cancel (stamp) your postage by hand. It’s usually a round, red stamp with the date and location. I always say aloud that I would like “hand canceling” and for the invitations to be treated as “non-machinable” because I’ve seen pieces be hand canceled and sill dropped in the machine and canceled again. Hand canceling should keep your invitations out of some of the sorting machines, reducing risk of potential damage and because you’re asking for your invitation to skip some machines, they’ll be subject to the “non-machinable” surcharge. As of writing this, that is equivalent to the price of an additional ounce. You'd think there’d be a universal policy, but I've gotten a different answer at different post offices, or even at the same office from different workers. I’ve heard, “Happy to do it and it won’t cost extra,” “that will cost an extra ounce’s worth,” and “sorry, we’re busy. Can’t hand cancel today.” When in doubt, add more postage and be prepared for any number of responses.
Buy Postage. Your local post office might not have the full selection of available stamps in stock. You can order online from USPS.com but be prepared that processing times for stamp orders can be upwards of 10 days. Strange, but true.
If you’re local to Rochester, NY, ask me for my fav post offices to get a good selection. Bigger branches usually stock better, but you’ll also find that it often depends on whether there’s an excellent postal worker at your branch who makes sure to keep all the latest stamps in stock. Don’t forget to buy a forever stamp for all your reply envelopes, too!
Assemble Like a Pro
Make time. Clear an afternoon (or two!) Assemblies can take a while, so leave plenty of time. Bows, seals, wraps all add time.
Have your tools ready. Consider using a glue stick or an envelope moistener instead of licking all your envelopes. A stack of scrap paper is handy for catching glue stick overflow when applying glue to your envelopes flaps. A tape runner is also a good option ( I like Tombow brand or Scotch. Choose one that says, “permanent”). Always do a test with a new tool on an extra envelope first. Hand sanitizer is handy for drying out clammy fingers that might leave stains on paper. Sharp scissors for ribbon are a must.
Assemble a team. Grab your spouse-to-be, mom, or a bff, and find a clean workspace with plenty of room to spread out. Keep food and drink far away.
What order do the cards go in?
Typically, I recommend you stack your cards from largest on bottom to smallest on top. If some of your cards are the same size, stack those from earliest event to latest event, or put the one you want to see first on top. Tuck your rsvp card under the flap of its envelope.
What about ribbons and wraps?
The key to a nice, snug ribbon or paper wrap is to adhere the wrap tightly around your invitation card only and then slip the rest of the cards in under the wrap or ribbon. A tape roller or double-sided tape is great for adhering vellum wraps and paper bands to themselves. I like to use a cutting mat with measurements or create a guide from masking tape on a table so it’s easy to center everything.
Alexandra Elise Photography

Alexandra Meseke Photography
Mail Your Invitations
If there’s stormy weather in the forecast, consider waiting until it passes to mail your pieces. If skies are clear, head back to your local post office to drop your invitations off inside. It’s best to go when it’s not busy. A postal worker might deny you hand canceling if there’s a line. Your postal worker wants your special pieces to arrive in-tact, so it never hurts to tell them they’re handling your wedding invitations! Ask for hand canceling if you planned on it (and have included enough postage to do so).
Now give your Love a high-five and cross invitations off your wedding planning to-do list!
* source: https://facts.usps.com

Alexandra Elise Photography